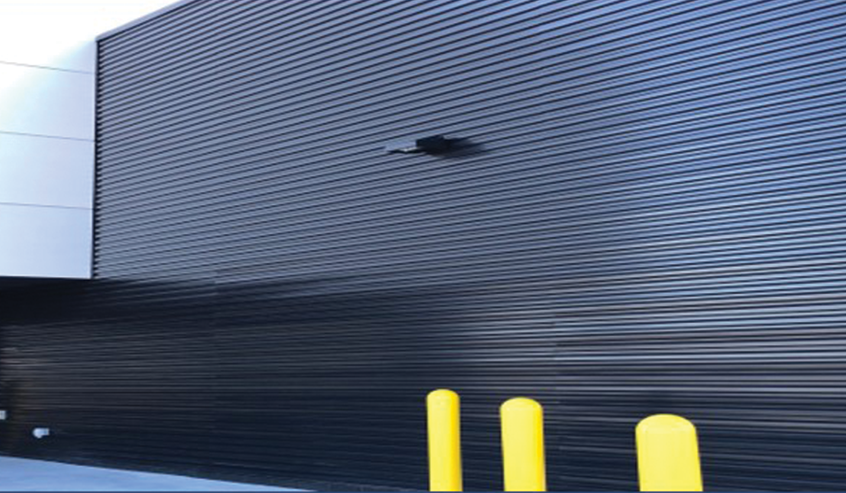
Rigid Wall II offers a sleek appearance and design solutions for any number of project objectives.
Splice Plate
- Behind panel
- ⅛” to ¼” gap
- Appropriate sealant
- Neoprene behind splice plate
- Pop rivets or VHB tape – one side of panel
Note: Same detail used with elite miters
Splice Plate – Open Framing
- Added framing needed for the splice plate
- Add neoprene behind the splice plate to keep the face of panel on the same plane
- Appropriate tube butyl sealant
- Pop rivet or VHB tape, one side of panel
Recommended: Lapping panels randomly throughout elevations to minimize continuous sight lines
Factory Pre-notching – Open Framing
- 1” pre-notch on both ends of panel
- Appropriate tube butyl sealant
- No pop rivet
- Neoprene behind splice plate
- ⅛” to ¼” gap for thermal expansion
- Requires extra framing
- Not to be done with .050 aluminum
Note: Contractor must add on the 2” to panel length when doing material cut list
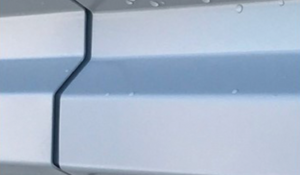
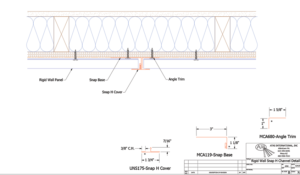
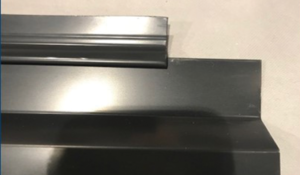
Alternative Option
- Full length panels
- Contractor cuts panels in field
- Eliminates the panel end flare
- Snap H trim or extrusions
- Avoids using a splice plate or overlap